
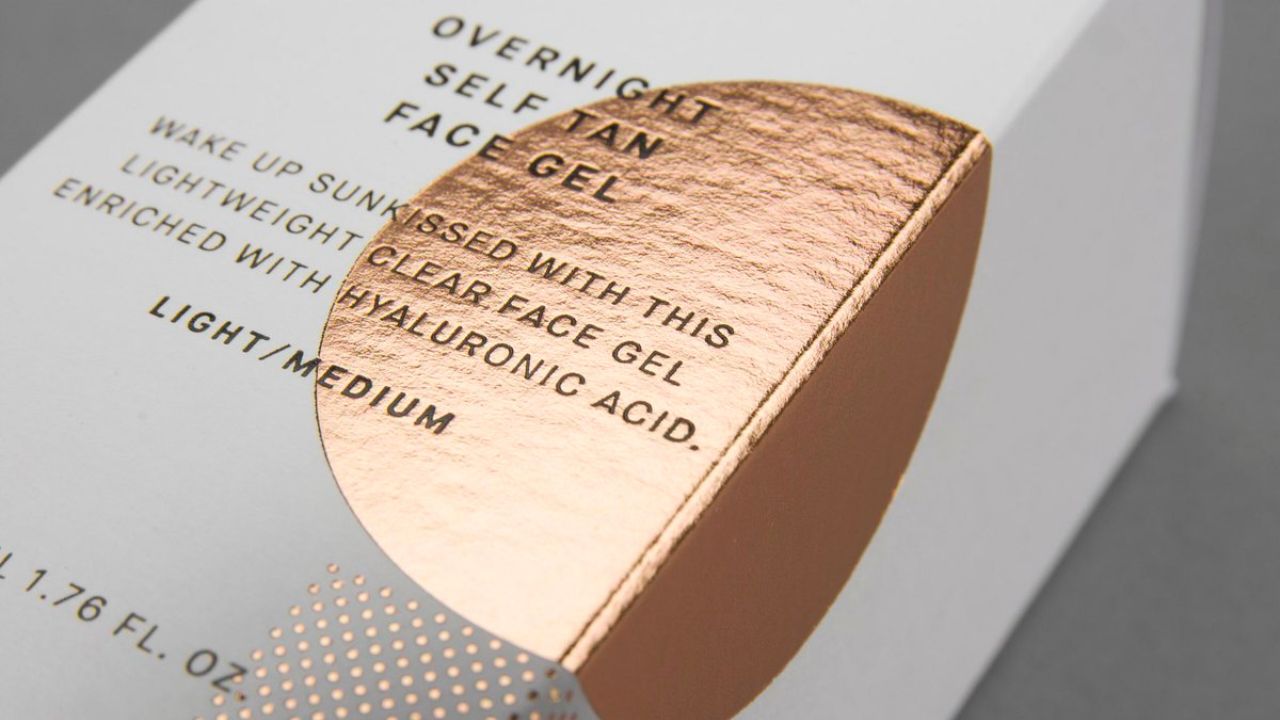
A world-class design on a plain, unfinished package is still a plain package. Printing finishing techniques is the critical step that determines whether your product gets noticed or overlooked on the shelf. These post-printing processes add texture, functionality, and visual impact to your packaging. They create an extension of your brand experience, not just decoration.
This guide will teach you a complete system for understanding and applying these techniques.
Exploring the Main Types of Printing Finishing Techniques
Part 1: Foundational Printing Finishing Techniques for Structure & Shape
Think of this section as the essential “architectural” phase of your packaging. Just like building a house, you need a solid foundation before adding the beautiful details. The logic flows from blueprint to final shape.
1.1. Dieline: The Blueprint for All Printing Finishing Techniques
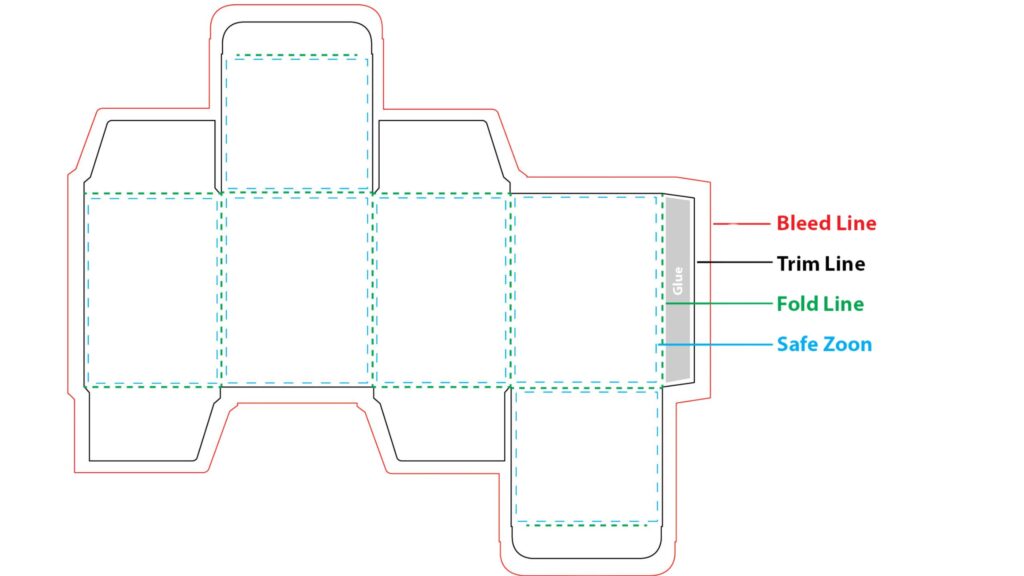
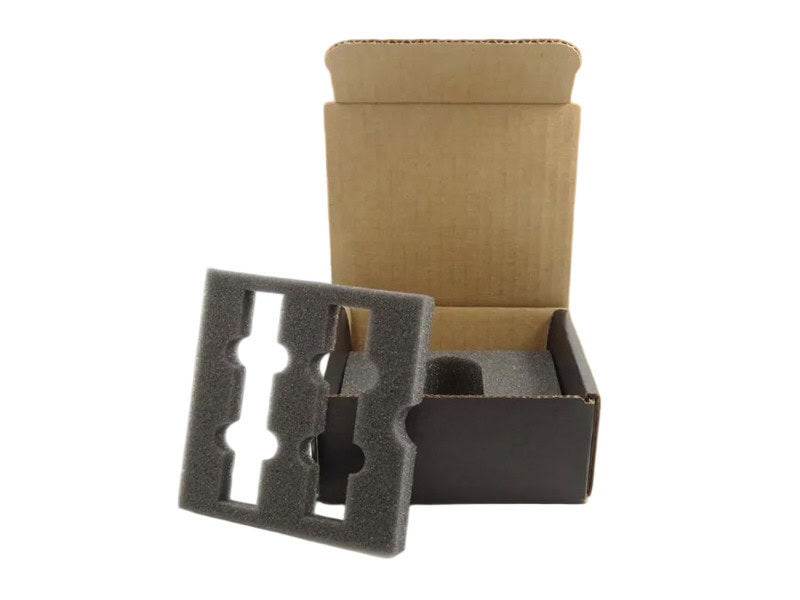
Dieline is not a finishing technique itself. It’s the master plan that controls all cutting, folding, and creasing on your package.
Think of a dieline like a building’s blueprint. An architect draws every wall, door, and window before construction starts. Your dieline shows every cut line, fold line, and crease before printing begins.
A precise dieline prevents almost all structural production errors. Get this wrong and your entire project fails. Get it right and everything else falls into place perfectly.
1.2. Die Cut: A Printing Finishing Technique for Custom Shapes
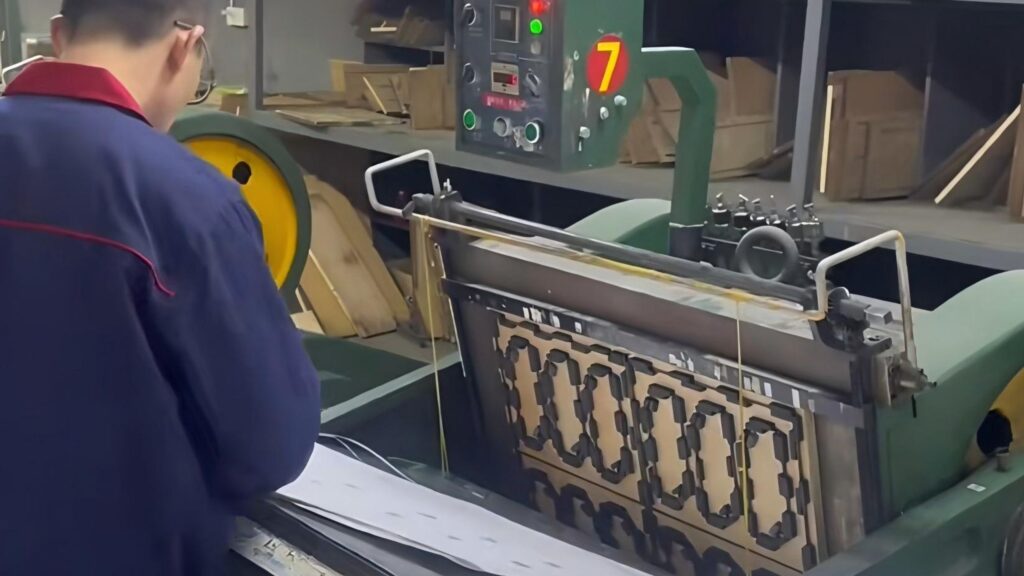
Die cutting breaks you free from boring rectangles. This process creates custom shapes that make your packaging stand out.
Picture a standard square business card sitting next to a die-cut card shaped like your company logo. Which one would you remember? The custom shape instantly makes your brand more memorable.
Die cutting works by using sharp metal rules arranged in your desired shape. The machine presses down and cuts through your material. You can create almost any shape you can imagine.
1.3. Creasing/Punching: Engineering the Perfect FEssential Printing Finishing Techniques for Flawless Folds
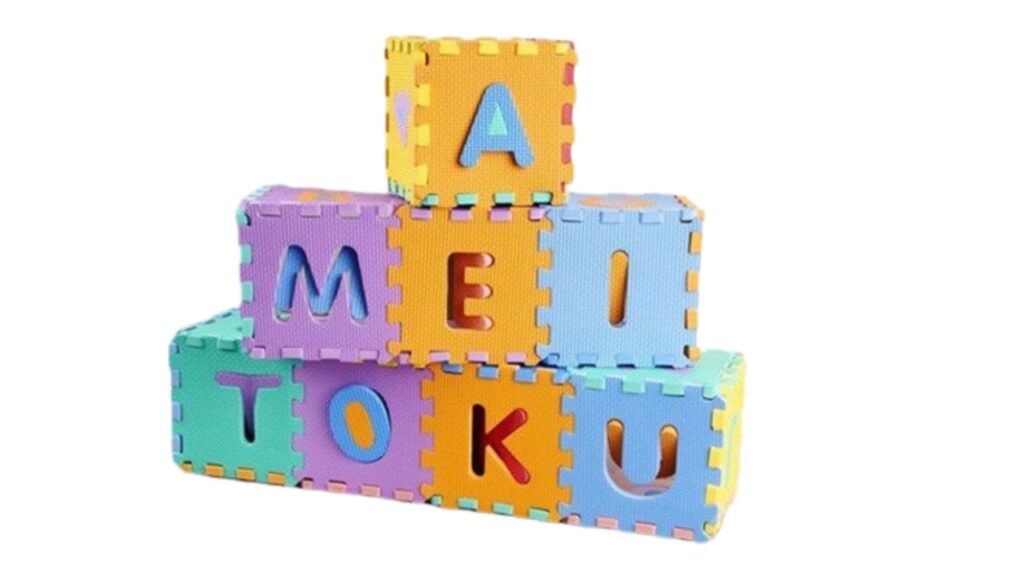
Creasing and punching are non-negotiable for boxes and folded pieces. These techniques prevent paper fibers from cracking when you fold them.
This is the difference between professional and amateur work. When you fold thick cardstock without a crease, you get ugly, cracked edges that scream “cheap.”
A proper crease compresses the paper fibers before folding. This creates a clean, sharp fold line that looks professional. Punching creates small holes for things like hang tags or binding.
Part 2: Sensory Printing Finishing Techniques for Visual & Tactile Impact
This is where your packaging comes alive. You’ll create visual and tactile hooks that make customers reach for your product. We’ll organize this by the senses: touch versus sight. Plus, you’ll learn “golden combination” ideas that professionals use.
A. Tactile Printing Finishing Techniques: The Dimension of Touch
2.1. Embossing & Debossing: Sculpting the PapSculptural Printing Finishing Techniques
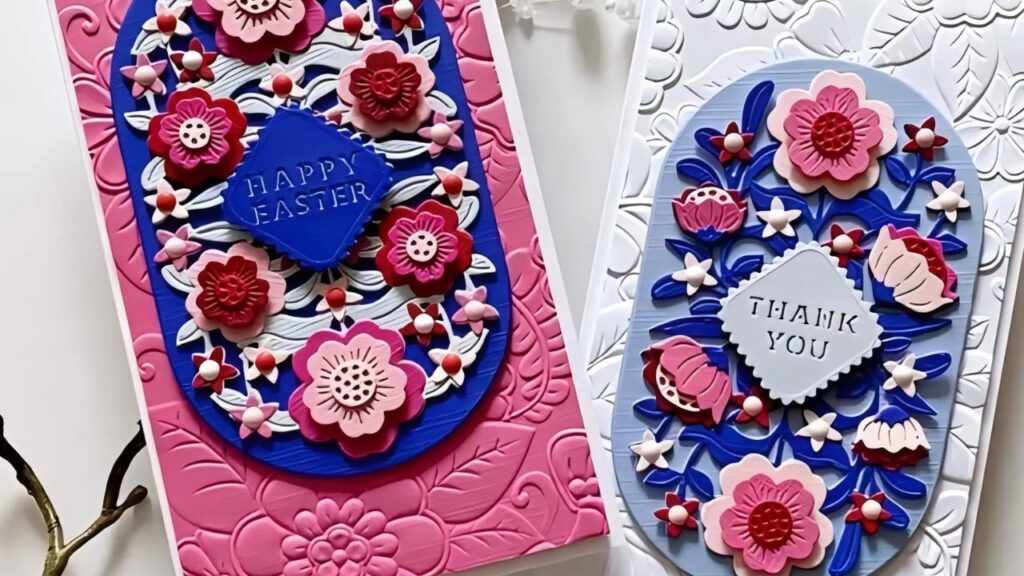
Embossing creates raised areas that stick up from the paper surface. Debossing creates indented areas that press down into the paper. Both give your packaging that premium “under-the-fingers” feel.
When customers run their fingers over embossed or debossed areas, they instantly think “expensive.” This tactile experience makes your brand feel more valuable than competitors using flat printing.
Designer’s Warning: Large or overly fine embossed patterns can crack certain paper stocks. Test your design on the actual material before full production. Thick, sturdy papers work best for deep embossing.
2.2. Flocking: A Unique Printing Finishing Technique for a Velvet Touch
Flocking creates a soft, velvet-like texture on your packaging. The process applies tiny fibers to adhesive areas on your print. The result feels like soft fabric instead of paper.
This technique works perfectly for jewelry box interiors and premium wine labels. The unexpected soft touch creates a luxury experience. However, flocking has durability limitations on high-wear surfaces. It can rub off with heavy handling.
B. Visual Printing Finishing Techniques: The Dimension of Sight
2.3. Foil Stamping: The Premier Printing Finishing Technique for Luxury
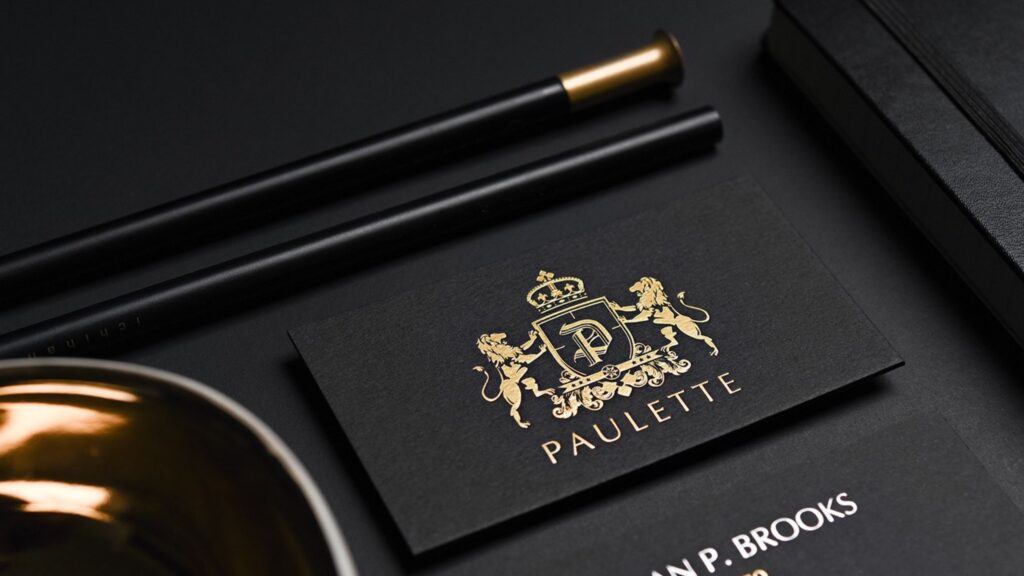
Foil stamping goes far beyond basic gold and silver. You can choose matte foils, holographic foils, and colored foils in almost any shade. Each type creates different visual effects.
Foil Stamping Pitfall Guide: For textured papers, increase pressure to ensure proper adhesion. The foil needs to press into all the texture grooves. For thin papers, reduce heat to avoid scorching. Always test first on your actual paper stock.
Holographic foils create rainbow effects that change as you move the package. Matte foils give subtle elegance without too much shine.
2.4. Spot UV: A High-Contrast Printing Finishing Technique
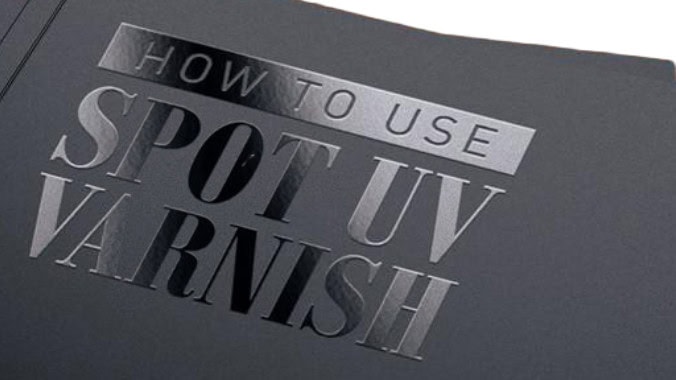
Spot UV adds a high-gloss, “wet look” to specific areas of your design. It creates stunning contrast against matte backgrounds. The effect looks like you painted certain areas with clear, shiny paint.
Golden Combination: Matte lamination plus spot UV maximizes visual impact. The matte background makes the glossy areas pop dramatically. This pairing is one of the most effective techniques for grabbing attention on store shelves.
Part 3: Protective Printing Finishing Techniques: Shielding and Enhancing Your Packaging
All coating-related techniques live here. These layers protect your packaging while enhancing its appearance. Think of them as armor that also makes your package look better.
3.1. Lamination: The Heavy-Duty Shield Among Printing Finishing Techniques
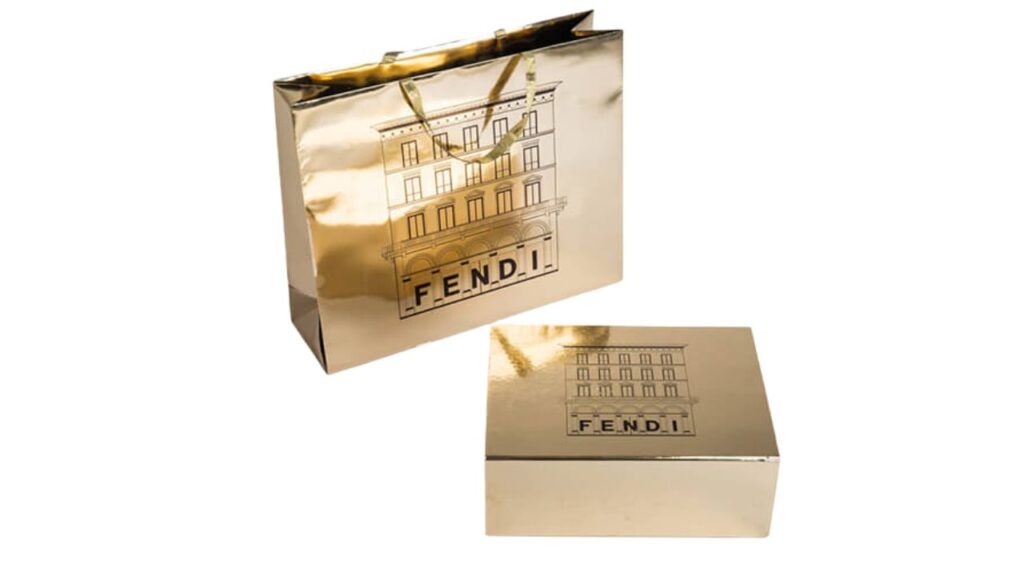
Lamination applies a thin plastic film over your entire printed surface. Three main types serve different purposes.
Gloss lamination creates a shiny, reflective surface. It makes colors pop and provides excellent protection. Use this when you want maximum visual impact and durability.
Matte lamination gives a smooth, non-reflective finish. It feels sophisticated and elegant. Matte lamination works perfectly for luxury brands that want understated elegance.
Soft-touch lamination creates a velvety, almost rubber-like feel. Customers love to touch and hold packages with this finish. It instantly makes your product feel more premium.
Lamination protects against scratches, moisture, and wear. But it’s not just protection. Matte and soft-touch finishes are powerful design elements that change how customers perceive your brand.
3.2. Coatings & Varnishes: Lighter Protective Printing Finishing Techniques
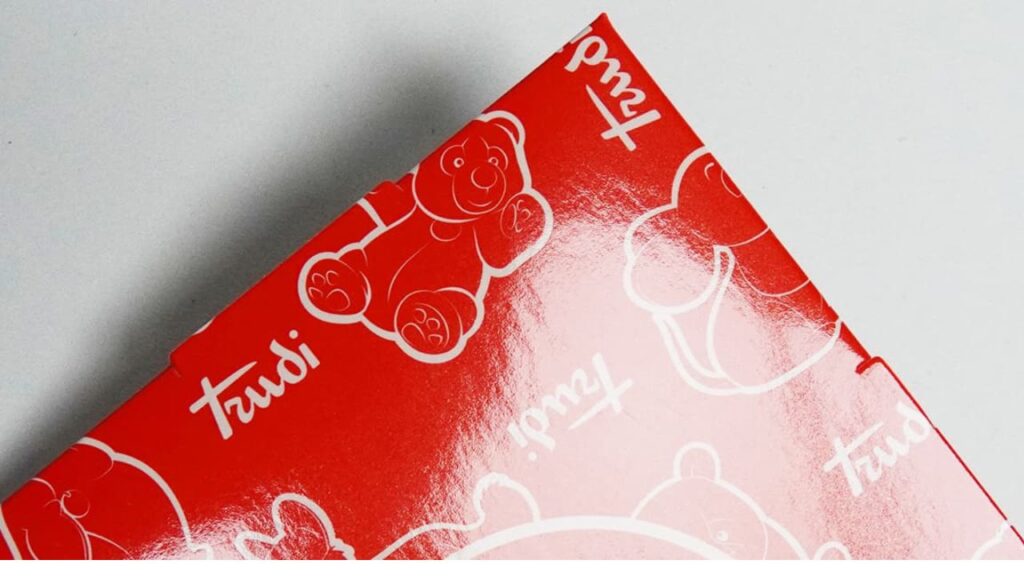
Coatings and varnishes provide protection without the thickness of lamination. Two main types dominate the market.
UV coating uses ultraviolet light to cure a liquid coating instantly. It provides high gloss and excellent durability. However, UV coating can crack on fold lines. It’s also less eco-friendly than other options.
Aqueous coating uses water-based formulas that dry naturally. It’s eco-friendly and cost-effective. The downside is less gloss and protection compared to UV coating.
Pro-Tip Comparison Table
| Feature | Lamination | UV Coating | Aqueous Coating |
|---|---|---|---|
| Protection | Excellent | Good | Fair |
| Aesthetics | Multiple finishes available | High gloss only | Subtle enhancement |
| Cost | Higher | Medium | Lower |
| Eco-Friendliness | Poor (plastic film) | Fair | Excellent (water-based) |
Choose lamination for maximum protection and premium feel. Pick UV coating for high-gloss durability. Select aqueous coating for budget-friendly, eco-conscious projects.
Part 4: Mastering Printing Finishing Techniques: Combinations & Expert Advice
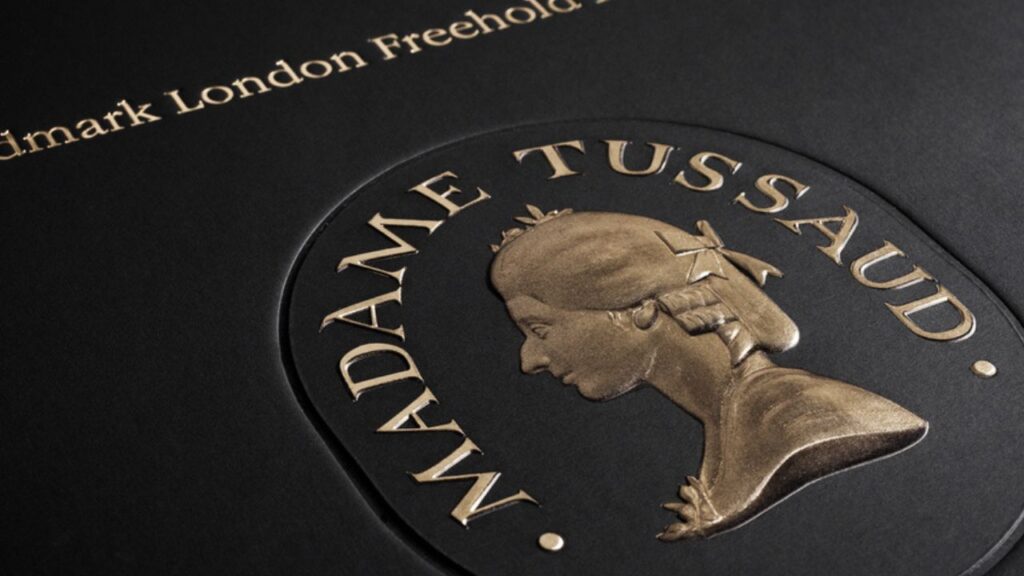
This is the crown jewel of our guide. We’ll move beyond basic facts to strategic combinations that create stunning results. Think of this as your professional playbook.
4.1. Winning Formulas: Combining Printing Finishing Techniques
The Luxury Classic: Soft-touch lamination + foil stamping + embossing. This combination screams premium quality. Perfect for high-end gift boxes and luxury product packaging. The soft feel draws customers in. The foil catches light beautifully. The embossing adds sculptural depth.
The Modern Contrast: Matte lamination + spot UV. This pairing maximizes visual impact with minimal cost. Ideal for tech brands and fashion companies. The matte background makes glossy areas pop dramatically. Clean, modern, and highly effective on store shelves.
The Natural Tactile: Uncoated textured paper + debossing or matte foil. Perfect for artisanal brands and eco-conscious companies. The natural paper feels authentic. Debossing adds subtle sophistication without appearing flashy. Matte foil provides elegance while maintaining the organic feel.
4.2. The 5 Most Common (and Costly) Mistakes in Printing Finishing Techniques to Avoid
Mismatching: Using the wrong finish on the wrong paper. Fine foil stamping on heavily textured paper creates patchy, unprofessional results. Always test combinations first.
Ignoring Physics: Placing an emboss over a fold line. The embossing will crack when folded. Keep raised elements away from any fold or crease areas.
Over-Designing: Stacking too many finishes together. More isn’t always better. Too many effects look cheap and confused. Pick two or three techniques maximum.
Poor File Prep: Submitting a dieline that isn’t set up correctly. This causes production delays and cost overruns. Double-check all measurements and specifications.
Skimping on Protection: Choosing inadequate coating for your product’s journey. Beautiful packaging that arrives scuffed defeats the entire purpose. Match protection level to distribution needs.
4.3. Pre-Flight Checklist for Printing Finishing Techniques
Before sending files to production, verify these essential elements:
• All fonts converted to outlines or embedded properly
• Bleeds included at minimum 0.125 inches beyond trim
• Spot colors defined correctly for foil stamping areas
• Finishing techniques placed on separate, labeled layers
• Dieline measurements double-checked against specifications
• Color profiles set correctly for printing method
• File resolution at 300 DPI minimum for all images
• Crease lines and fold marks clearly indicated
Appendix: The Ultimate Printing Finishing Techniques Cheat Sheet
| Technique | Primary Function | Cost Level | Best Paired With | Key Design Consideration |
|---|---|---|---|---|
| Dieline | Structure blueprint | $ | All projects | Precision prevents all structural errors |
| Die Cut | Custom shapes | $$ | Unique branding | Avoid overly complex shapes |
| Creasing | Clean fold lines | $ | Boxes, folders | Required for thick materials |
| Embossing | Raised tactile areas | $$$ | Luxury packaging | Avoid fine details on textured paper |
| Debossing | Indented tactile areas | $$$ | Elegant branding | Keep away from fold lines |
| Flocking | Velvet-like texture | $$$ | Jewelry boxes, wine labels | Not suitable for high-wear surfaces |
| Foil Stamping | Metallic luxury effect | $$$ | Premium branding | Test pressure on textured papers |
| Spot UV | High-gloss contrast | $$ | Modern brands | Maximize with matte backgrounds |
| Lamination | Protection + aesthetics | $$ | High-durability needs | Choose finish type carefully |
| UV Coating | Glossy protection | $$ | Moderate durability | Can crack on folds |
| Aqueous Coating | Eco-friendly protection | $ | Budget-conscious projects | Less protection than alternatives |
Conclusion: Finishing is a Conversation with Your Customer
Finishing techniques transform your brand story from something customers just see into something they experience with multiple senses. These aren’t decorations you add at the end. They’re strategic tools that communicate your brand values through touch, sight, and interaction.
Every finishing technique you choose sends a message. Soft-touch lamination says “luxury and comfort.” Debossing whispers “understated elegance.” Holographic foil shouts “innovation and excitement.” You’re having a conversation with customers before they even read a single word.
These techniques are an investment, not a cost. They increase perceived value. They improve brand recall. They create the physical connection that turns browsers into buyers.
You have the theory, but execution is everything. Ready to choose the perfect combination for your next project? Contact our packaging experts today, and let’s bring your vision to life.

 English
  العربية
  Deutsch (Sie)
  Español
  Français
  日本語
日本語  한국어
한국어  Italiano